We recently talked to a customer who was just starting her website. She had a brochure that she liked, some photos, and a logo before she started. But one challenge remained. How could she make her website match some of the brand materials she already had? How could she transform them into a customized website that felt like her own?
It’s a great question. In this post, we explain how to build a custom website with Jimdo by adding a few well-chosen personal touches.
If you already have design materials or you’re starting from scratch, here are some tricks to customizing the design of your website.
Easy ideas to customize your website design:
- Create a logo with colors that match
- Use a pattern or design as a background image.
- Use your logo and/or pattern to create a color theme for your website
- Choose icons to add personality and a custom look
- Add the same filters on all your photographs
- Customize your 404 page and add your logo as a favicon
1. Create your own website logo
Logos are important for business brands, and more accessible than ever. Even if you’re a solopreneur or you don’t see yourself having a lot of marketing materials, a simple logo can give your website a distinct, polished look.
If you already have a logo, make sure it’s up-to-date and that you have it in the right specifications. For example, if you only have it as a tiny .JPG file, or if it’s starting to look out of date, it’s probably time for an upgrade. Here are our top tips on how to design the perfect logo for your business.
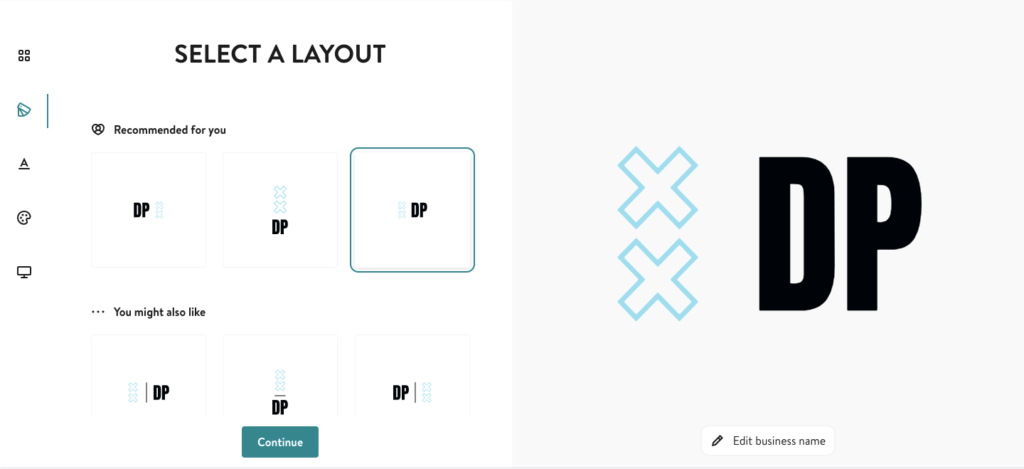
Here, I used the free Jimdo Logo Creator to create a simple logo using the initials of my sample website. When I’m done, I can download the logo files as .PNGs. The Logo Creator provides me with small and large versions, a favicon, and a solid color version for lots of different use cases.
Best of all, it comes with a transparent background so I can use it almost anywhere around my website, and on print materials too.
Design a logo that makes your business stand out.
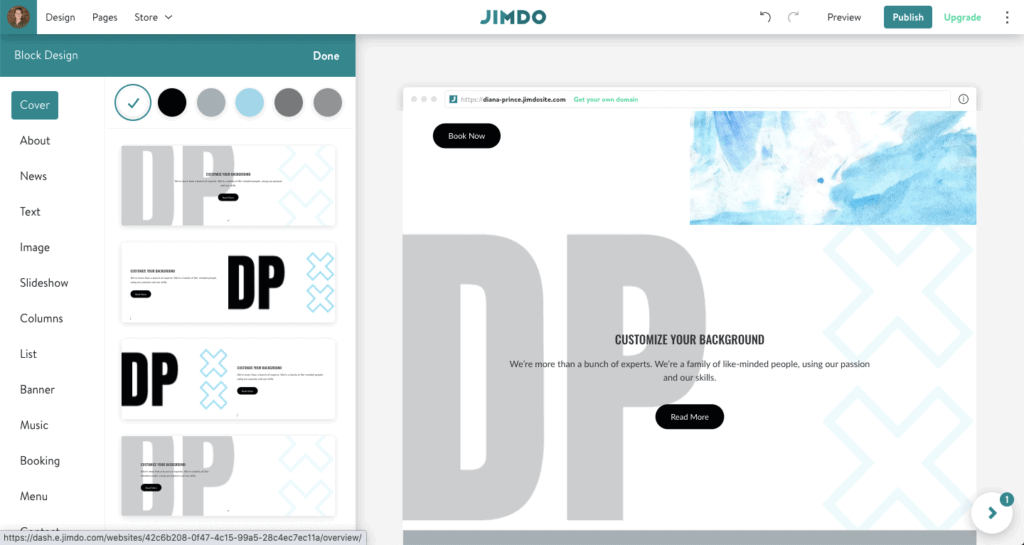
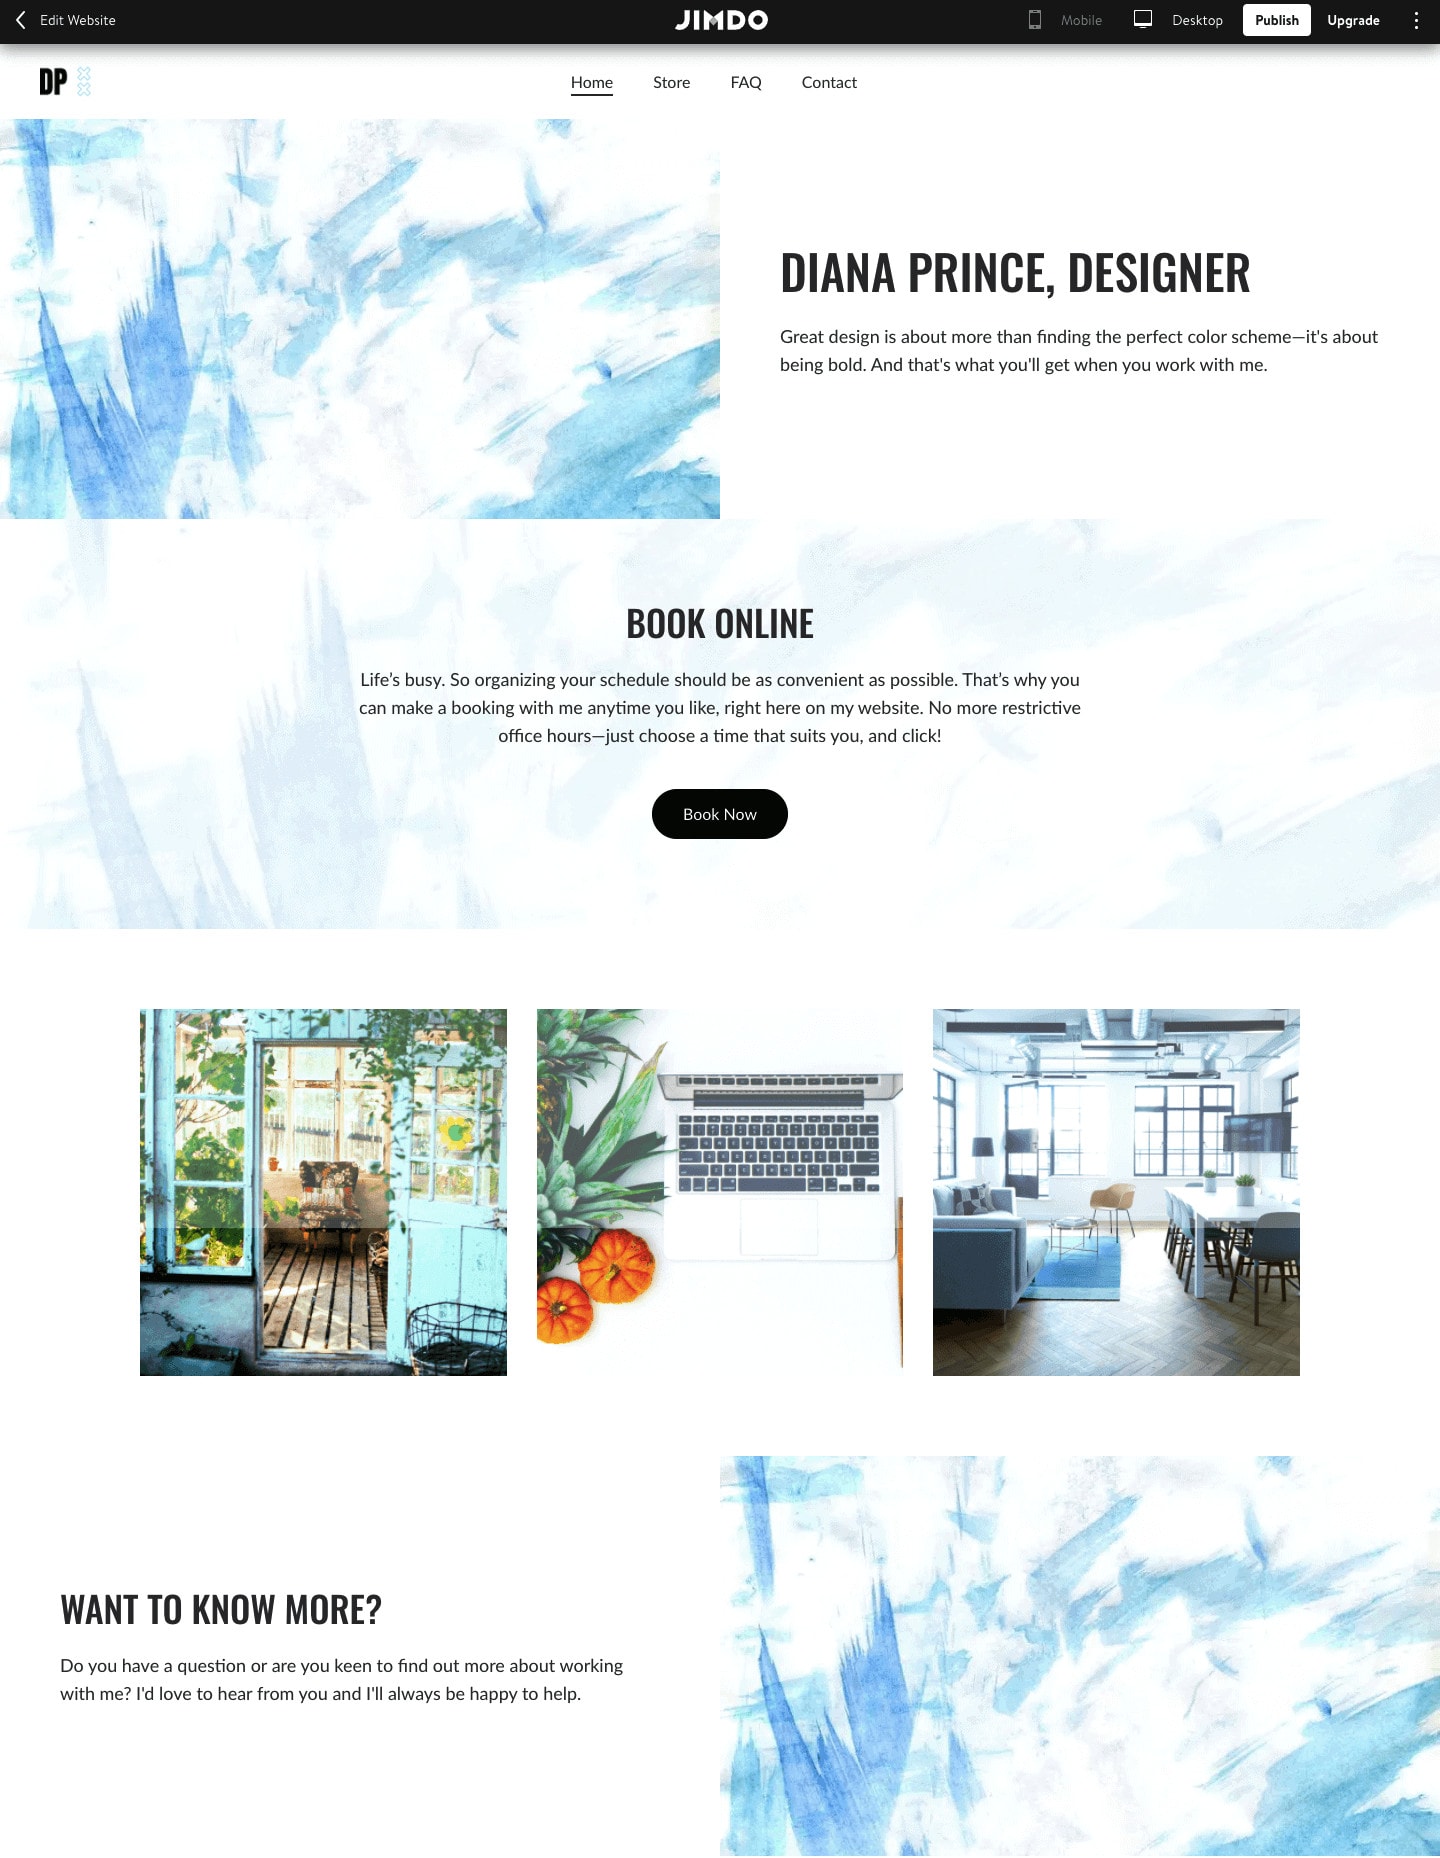
When you have your logo, it’s just like any other image file on your website. Upload it to your image library and use it in the logo area (next to the top menu), and as a website favicon. You can even play around with it as the background of one of your website blocks, like I’ve done here:
2. Choose a pattern or texture for your website background
A website background doesn’t have to be a photo or a solid color. By choosing a pattern, painting, or texture, you can give your website a custom look that you carry through your website and business brand.
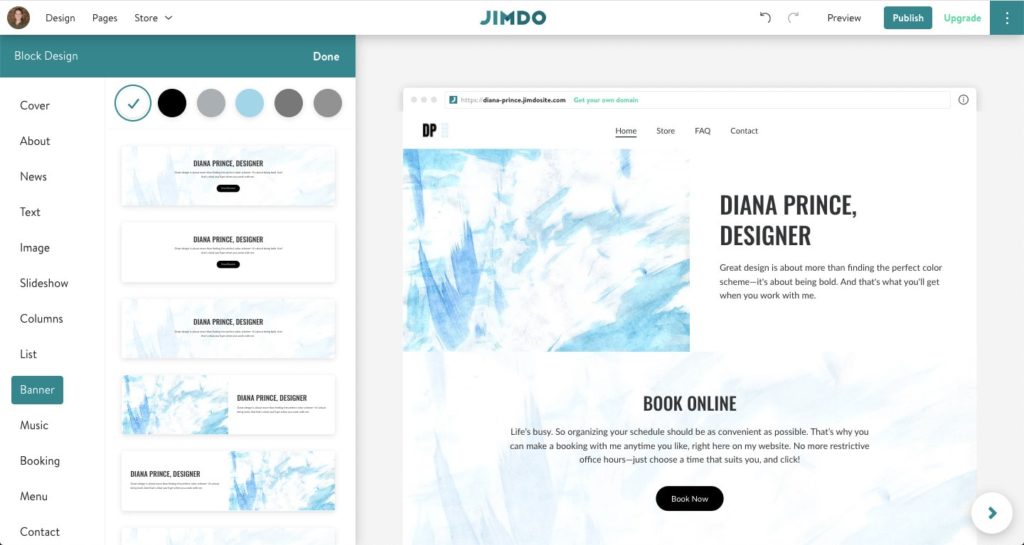
For example, here I chose a blue watercolor pattern from the website Lost+Taken. I downloaded the free pattern as a .JPG image file and then uploaded it to the image library of my Jimdo website. Once it’s in my library, I can use it anywhere that a photo can go, like as the background for one of my blocks.
There are lots of pattern databases online where you can download a high-resolution website background for free or for just a couple of dollars. Stock photography websites have patterns and artwork too. A few tips for finding the right one:
- Make sure it’s a high quality image with good resolution, so that it doesn’t look grainy or pixelated on large screens. If it’s too small, you don’t want to have to stretch it or tile it. (Here’s a more in-depth explainer on background images).
- Always double-check the right way to credit an image. Some images are free, some are free for personal but not commercial use, and some require that you give the artist credit on your website. Others ask for donations. Do your best to support the artists who make these!
3. Use color codes to match website colors
One design trick I love is to use color codes to make your colors consistent. This gives your website a branded, professionally designed look.
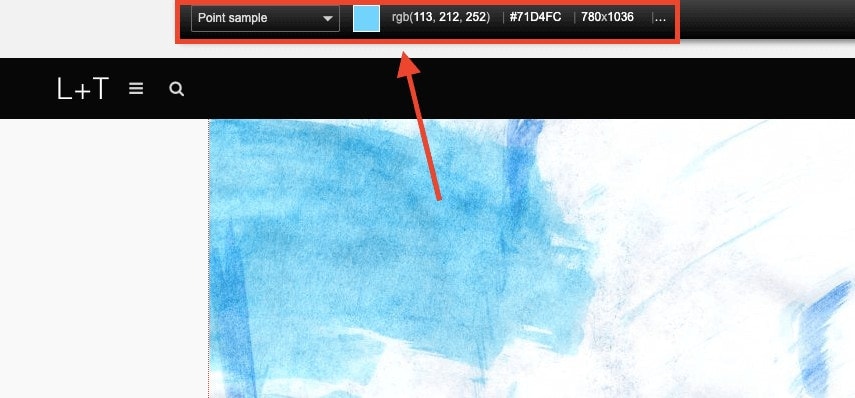
What’s a color code? It’s a unique code (technically a “RGB” or “hex value”) that identifies the exact color you’re looking at. A color code usually looks something like RGB (26, 119, 127) or #71D4FC.
Once you have a color code for your favorite color, you can use it in other places too, like in online photo editors and graphic design programs, when you make infographics or social media images, icons, or images with text over them.
For example, when I created my DP logo above, I made sure that the blue color matched the blue in my watercolor background. Here’s how:
1. I used an online color picker tool (in this case Colorzilla). By hovering my cursor over part of the picture, the tool will tell me both the RGB and the hex code of the color I’m seeing.
2. Once I have the color code, I can use it in the Logo Creator to make my logo match. Just click on the little pencil icon over the color swatch and enter the hex code you want to match.
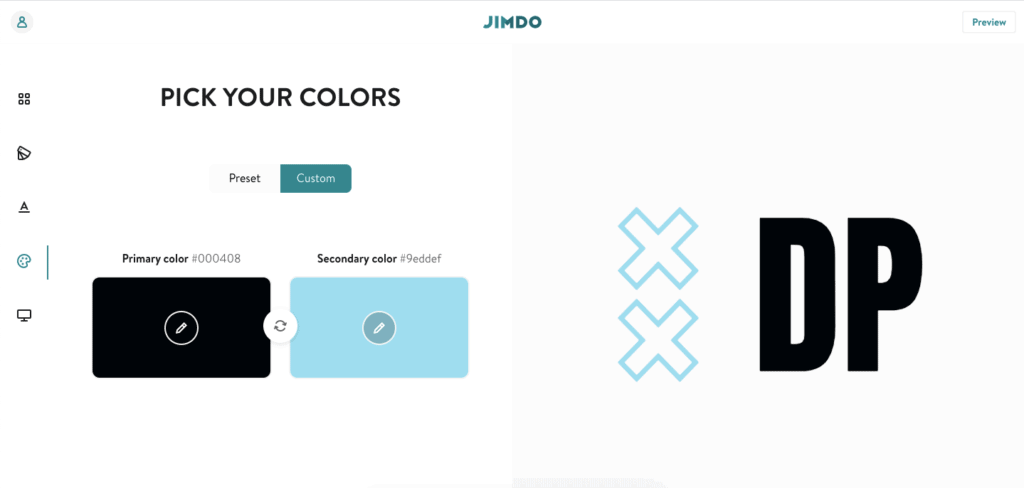
For more detail, check out this step-by-step tutorial on color matching and using color pickers.
4. Set the color theme on your website
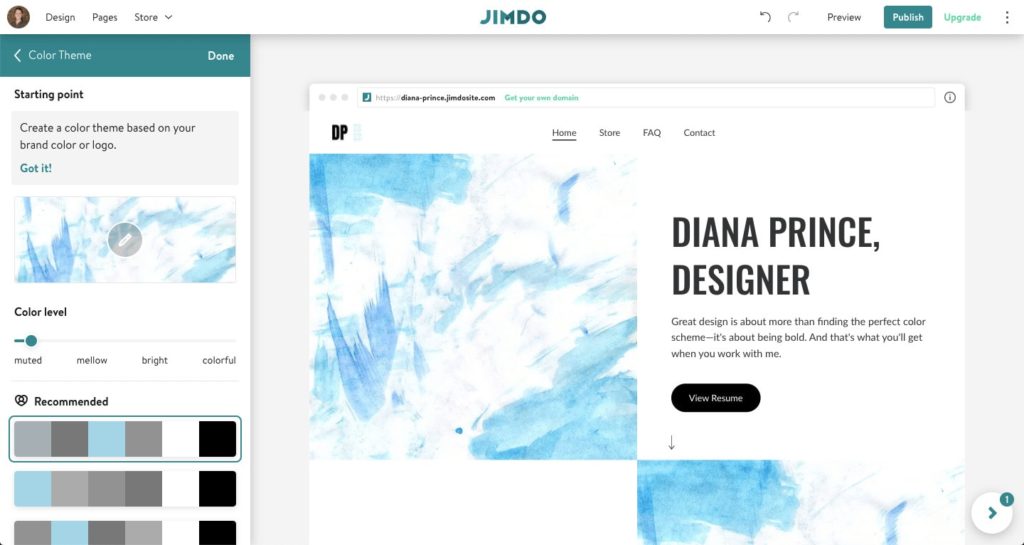
Now that I’ve got a background image and a logo that match, I can also set the color theme for my entire website. To do this, I open the Design settings, then upload the blue watercolor image as a starting point.
From there, the smart system will generate a color palette to go with it. I can turn the color up or down (from muted to colorful) depending on the look I want. In this case, I choose muted because I’d like to keep the color theme simple to make the blue stand out.
To apply this to real life, let’s say you already have a .PDF file of a brochure that someone made for you. You can use an online color matcher (sometimes called an “eyedropper” tool) to tell you the exact color that’s in it, and then use this color code in other places, like in your logo and website.
Tip: If you use Jimdo Creator, this technique works similarly. You would change the colors using the Style Editor, and you have more control of what colors you want to use in different places.
5. Use icons to add graphic personality
Just like with website backgrounds, there are a lot of websites that provide free or affordable icons for download. In many cases, you can use your color code (see above) to customize the color of the icon. You can also make your own icons, either from an online design program or with a free background removal tool.
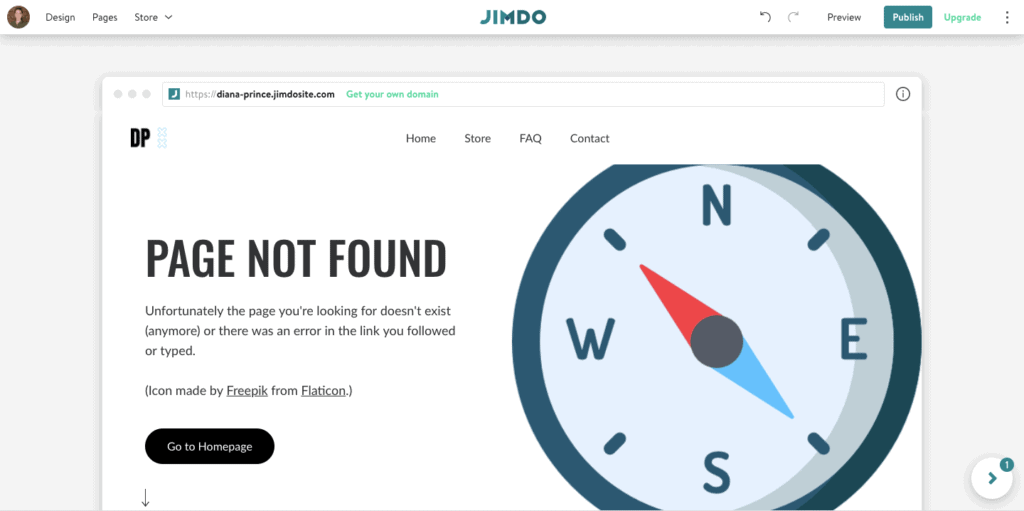
In this example, I found a free icon online (this one is from Flaticon) and used it as a graphic on my website’s 404 page. The colors match my website color scheme, and the compass adds some visual interest to a page that could just be a boring error message.
Note: Just like with free website backgrounds, make sure you credit your icons appropriately based on the site’s rules. You can often skip the credit if you purchase the icon for a couple of dollars. Here are some of our favorite resources for icons.
6. Use filters to make website photos look more uniform
On your Jimdo website, you can upload your own photographs, import them from your social media accounts, or choose from hundreds of free stock images. No matter what you choose, you can make photos from different sources look like they’re all from the same place by applying the same photo filter to each one.
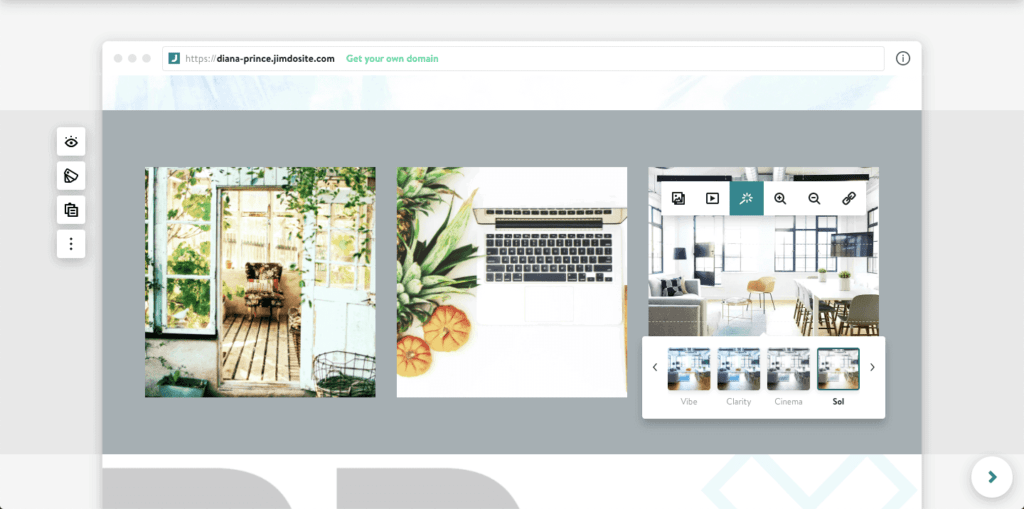
You can do this in your own favorite photo editing program, or you can use the filters that are built right into Jimdo. Here’s an example of how I used three photos from different places, but gave them a similar “look” by applying the same photo filter to each one.
Conclusion: Making a custom website design means being consistent
One design trick for websites is that the more consistent your style can be, the more put-together and professional everything will look. Use your logo on all of your materials, and use the same colors on your website, signage, social media accounts, and more. This not only looks nice, but it’s an indicator of trustworthiness.
As you’ll see from the example here, just a few design moves can leave you with a modern, professional website that matches the materials you have and will look totally unique, without needing to use a professional web designer.
Looking for more design tips? Check out our top tips for DIY websites.

